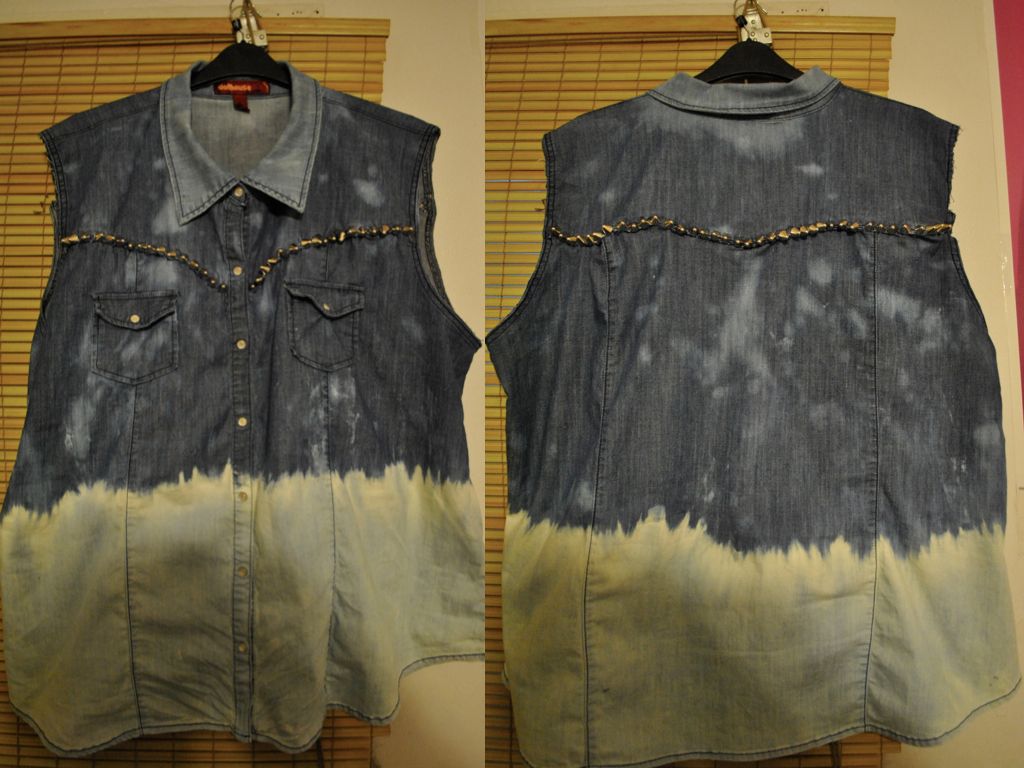
Lately I've been doing a few super simple DIY projects and today I wanted to show you my favorite turn out thus far. I wanted to film this, but it's kind of hard to adjust angles with bleach on your hands you know? I hope this written tutorial suffices.
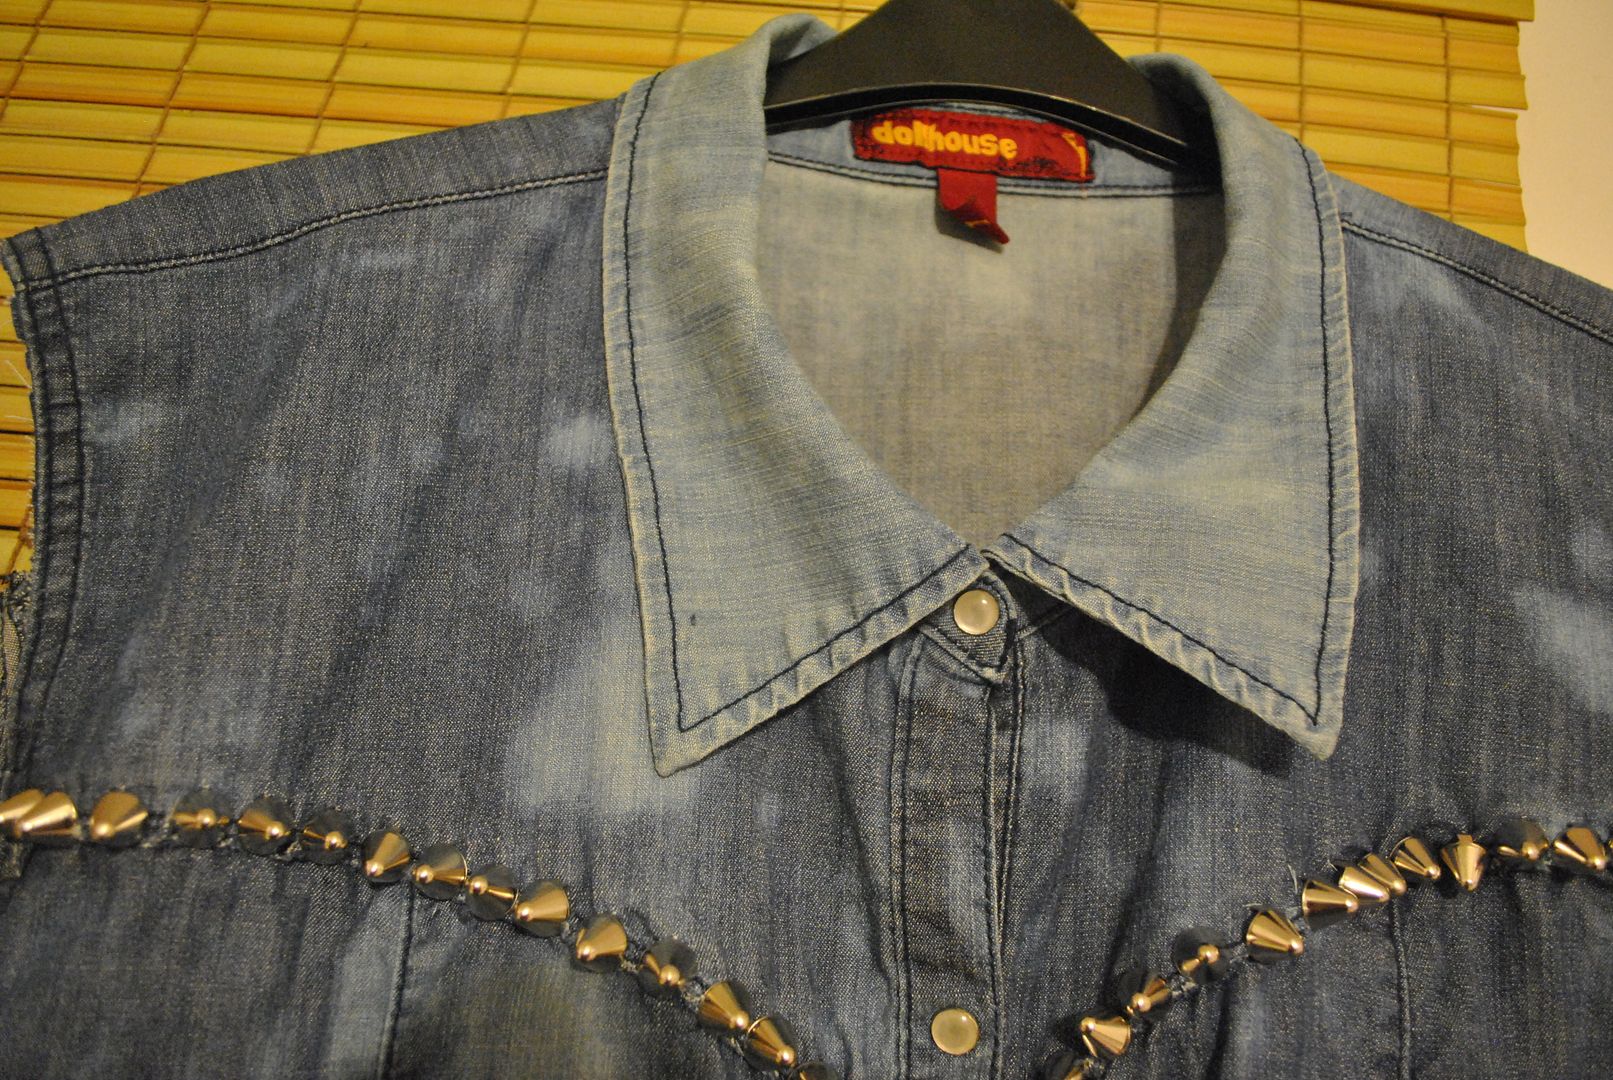
I purchased this western style denim button down from Torrid in 2009 and haven't warn it since then. I almost threw it out last night before deciding to transform it. Below is a picture of the original shirt.
So heres what I did. It was really easy so if looks like a lot of steps thats just because I'm detailed.
Materials:
Scissors
Bleach
Glove
Rubber Bands
Studs
A Butter Knife
A bucket
A magic marker
Cutting the shirt:
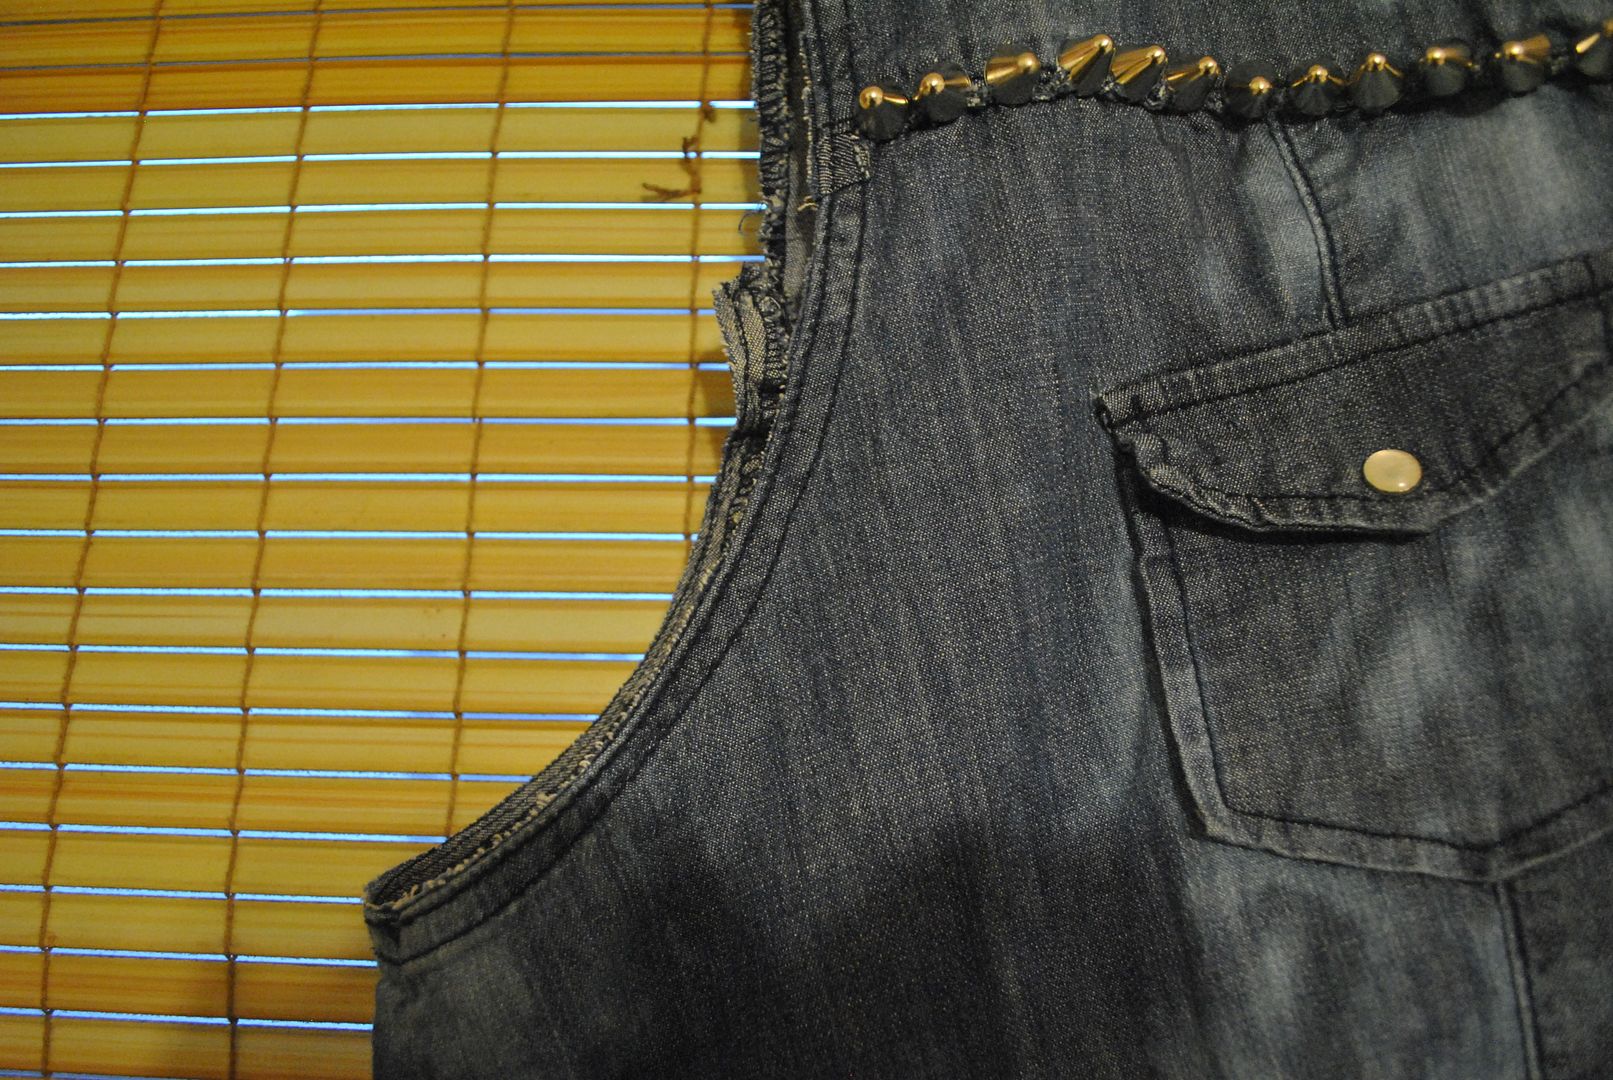
1.) The original Torrid shirt had 3/4 length sleeves and since it's the summer I decided to cut them. All you need to do is take a pair of scissors and cut along the seam that connects the sleeve to the shirt. DO NOT cut the seam. This could cause the area to fray, have holes, or the cut to be uneven.
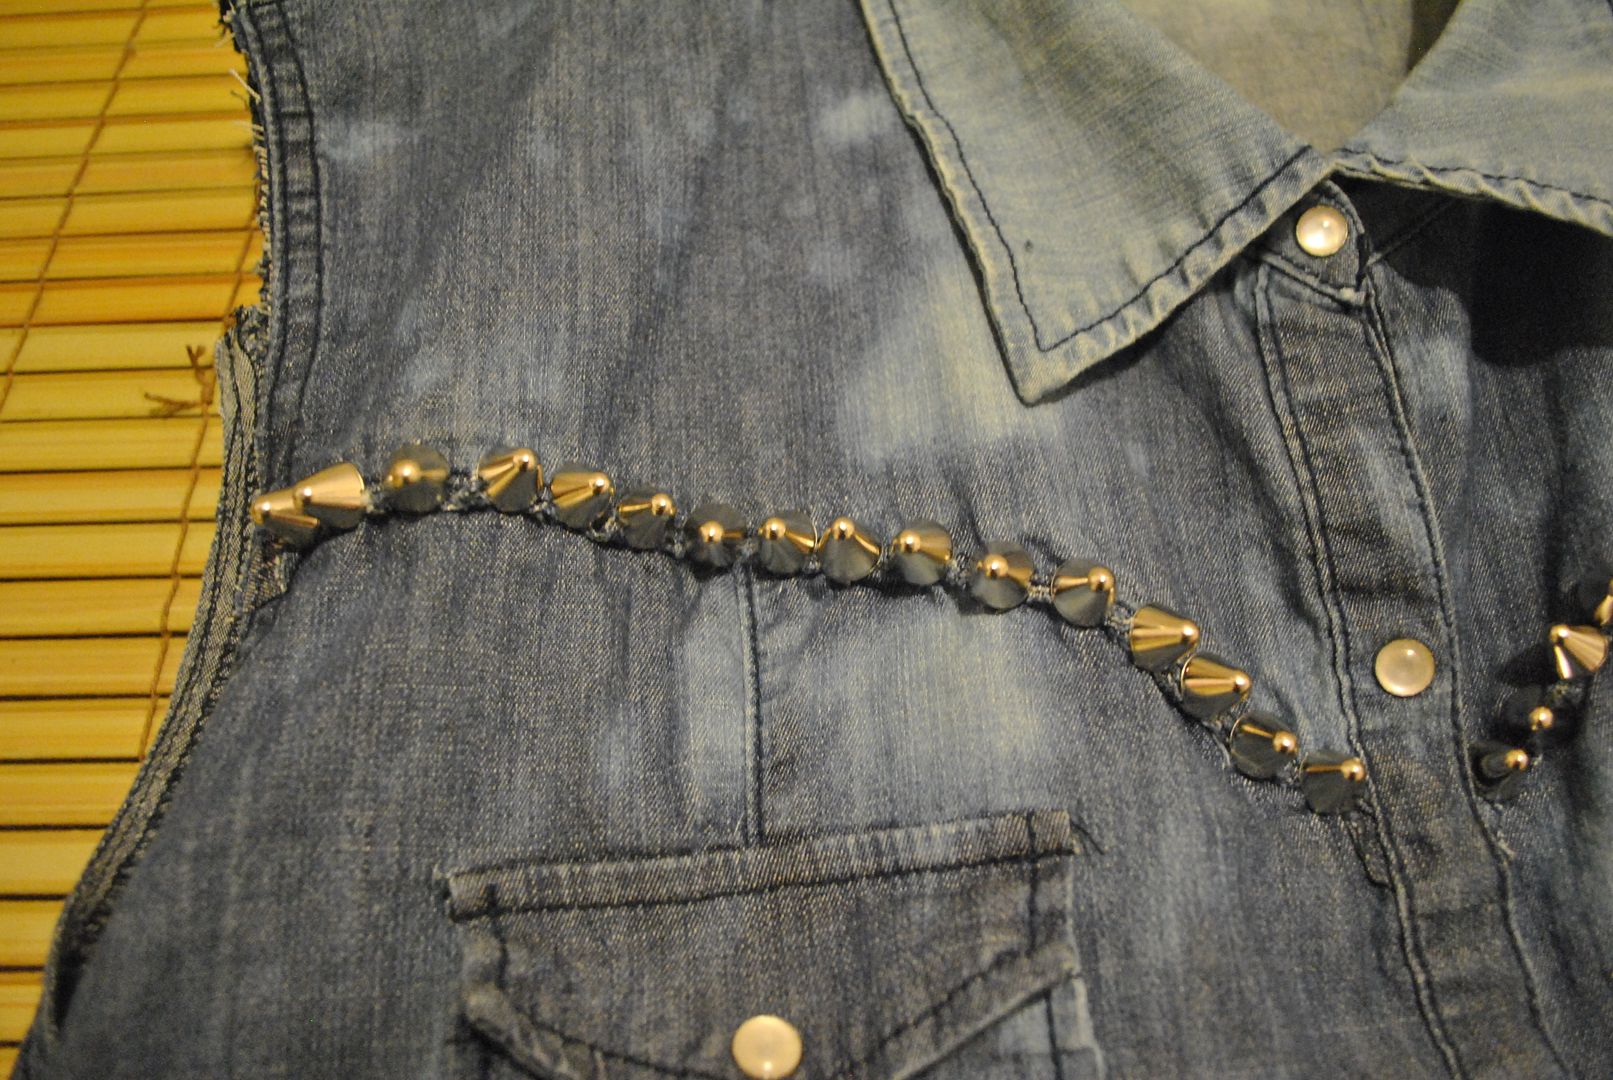
2.) This shirt also had ruffle details along the front pockets and the back yoke. To cut them I cut a small slit at one end and cut along the seam that connected the ruffles to the shirt. Again be very carful not to cut the seam to avoid holes in the shirt.
The Ombre Effect:
1.) Try on the shirt and use the marker to decide how far up you want to place your bleach. Then put a rubber band around where you placed the line.
2.) Put on the gloves (duh!) and pour the bleach into the bucket or tub. You can fill up it, but that's a waste of bleach. Just use enough to saturate the shirt.
3.) Soak the bottom of the shirt in water. Then, soak the part of the shirt with the rubberband around it in the bleach first for about 5 minutes. Next, dip the rest of the shirt into the bleach, pressing it down with your fingers to make sure it's fully coated.
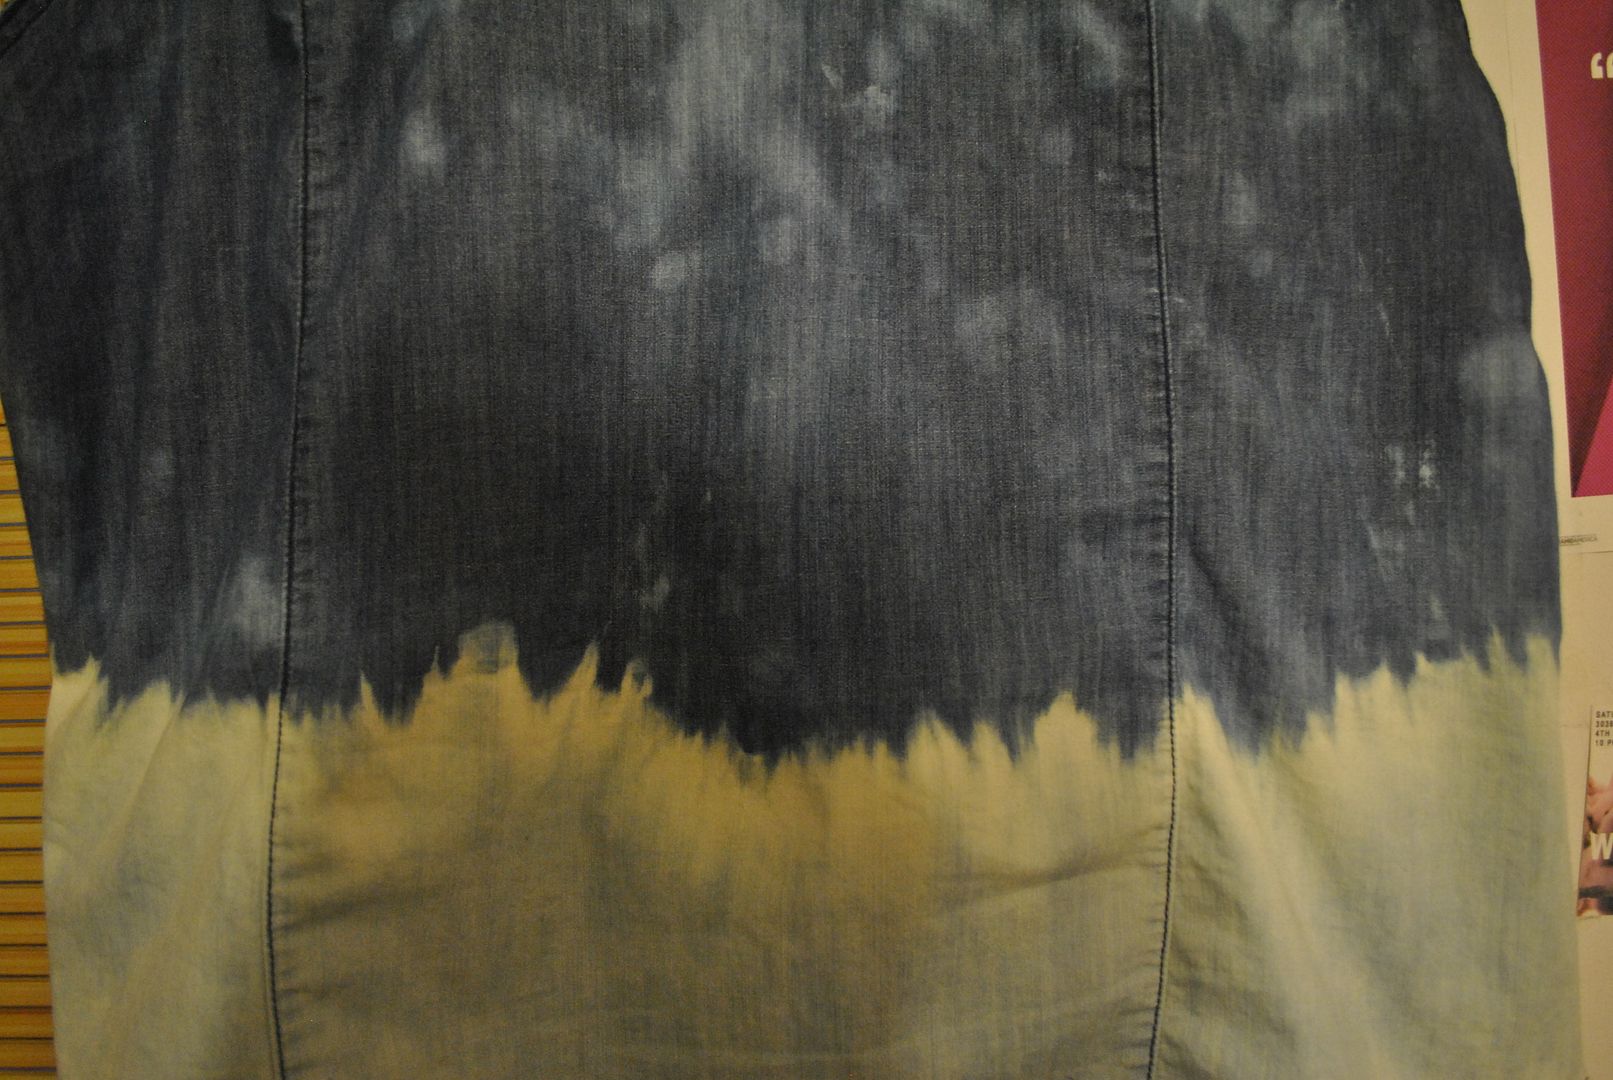
4.) You'll notice the bottom change color. When my top got light blue I rinsed the bleach out with water.
5.) Take off the rubber band. The area around rubber band should be white and a little jagged.
8.) Rinse the top again before washing and drying it.
Studding:
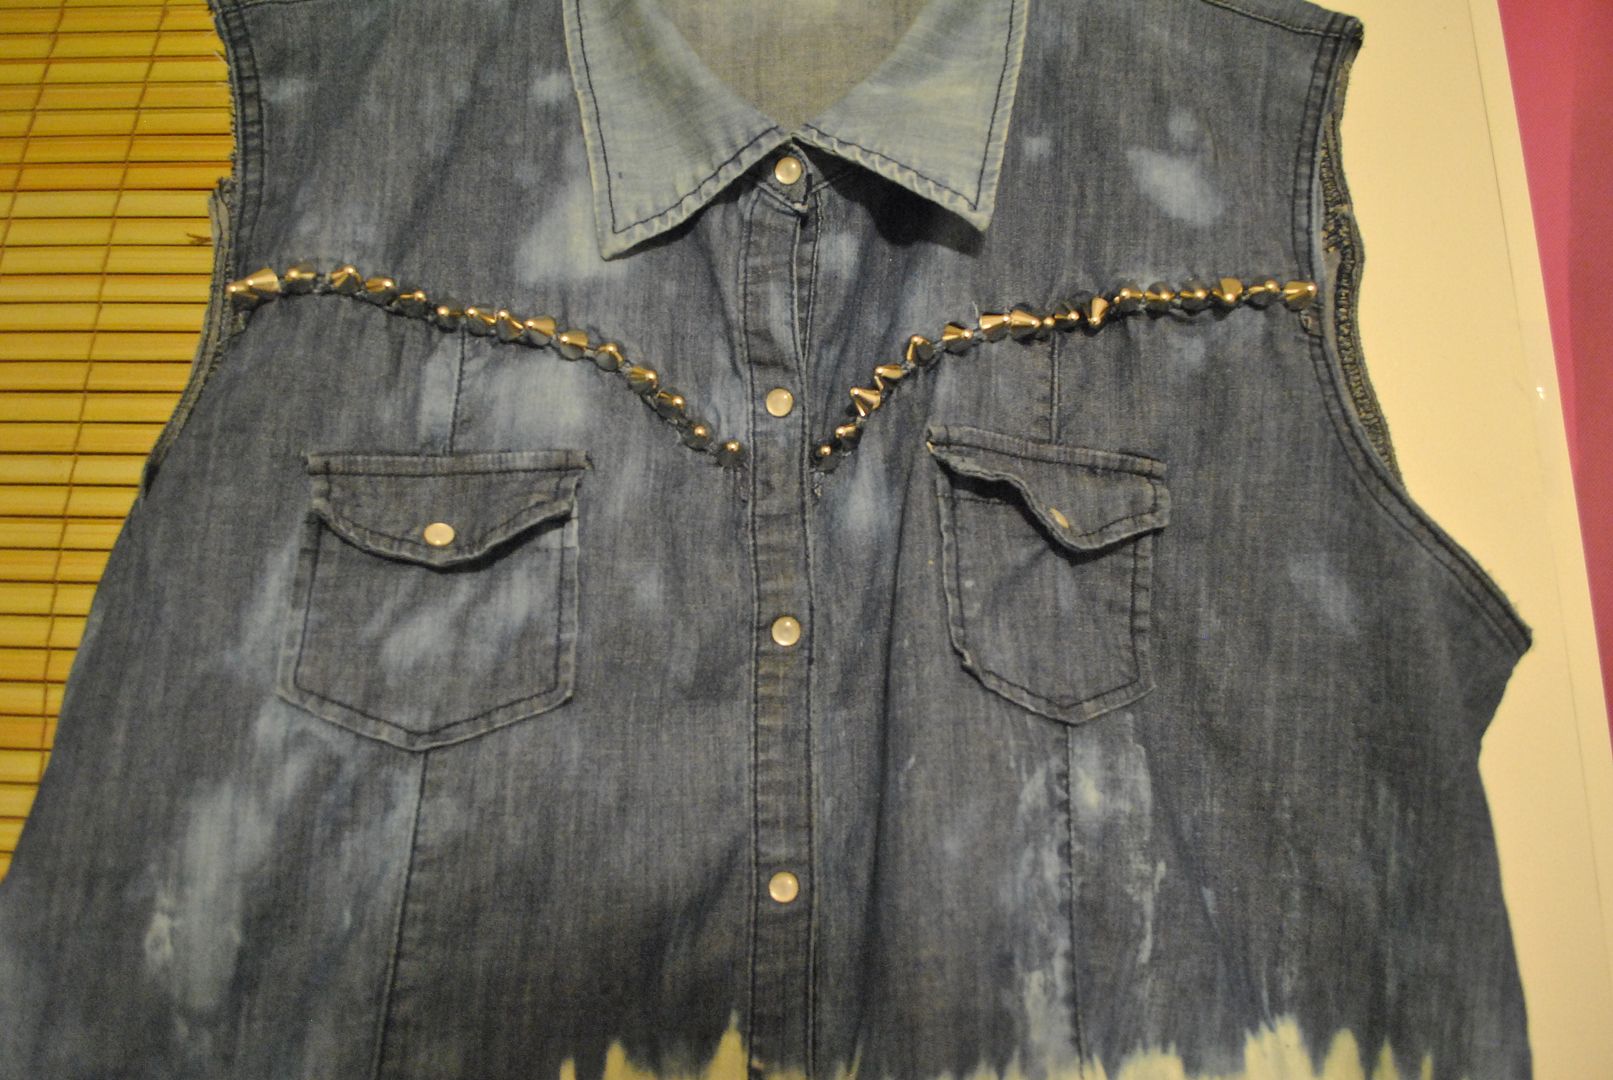
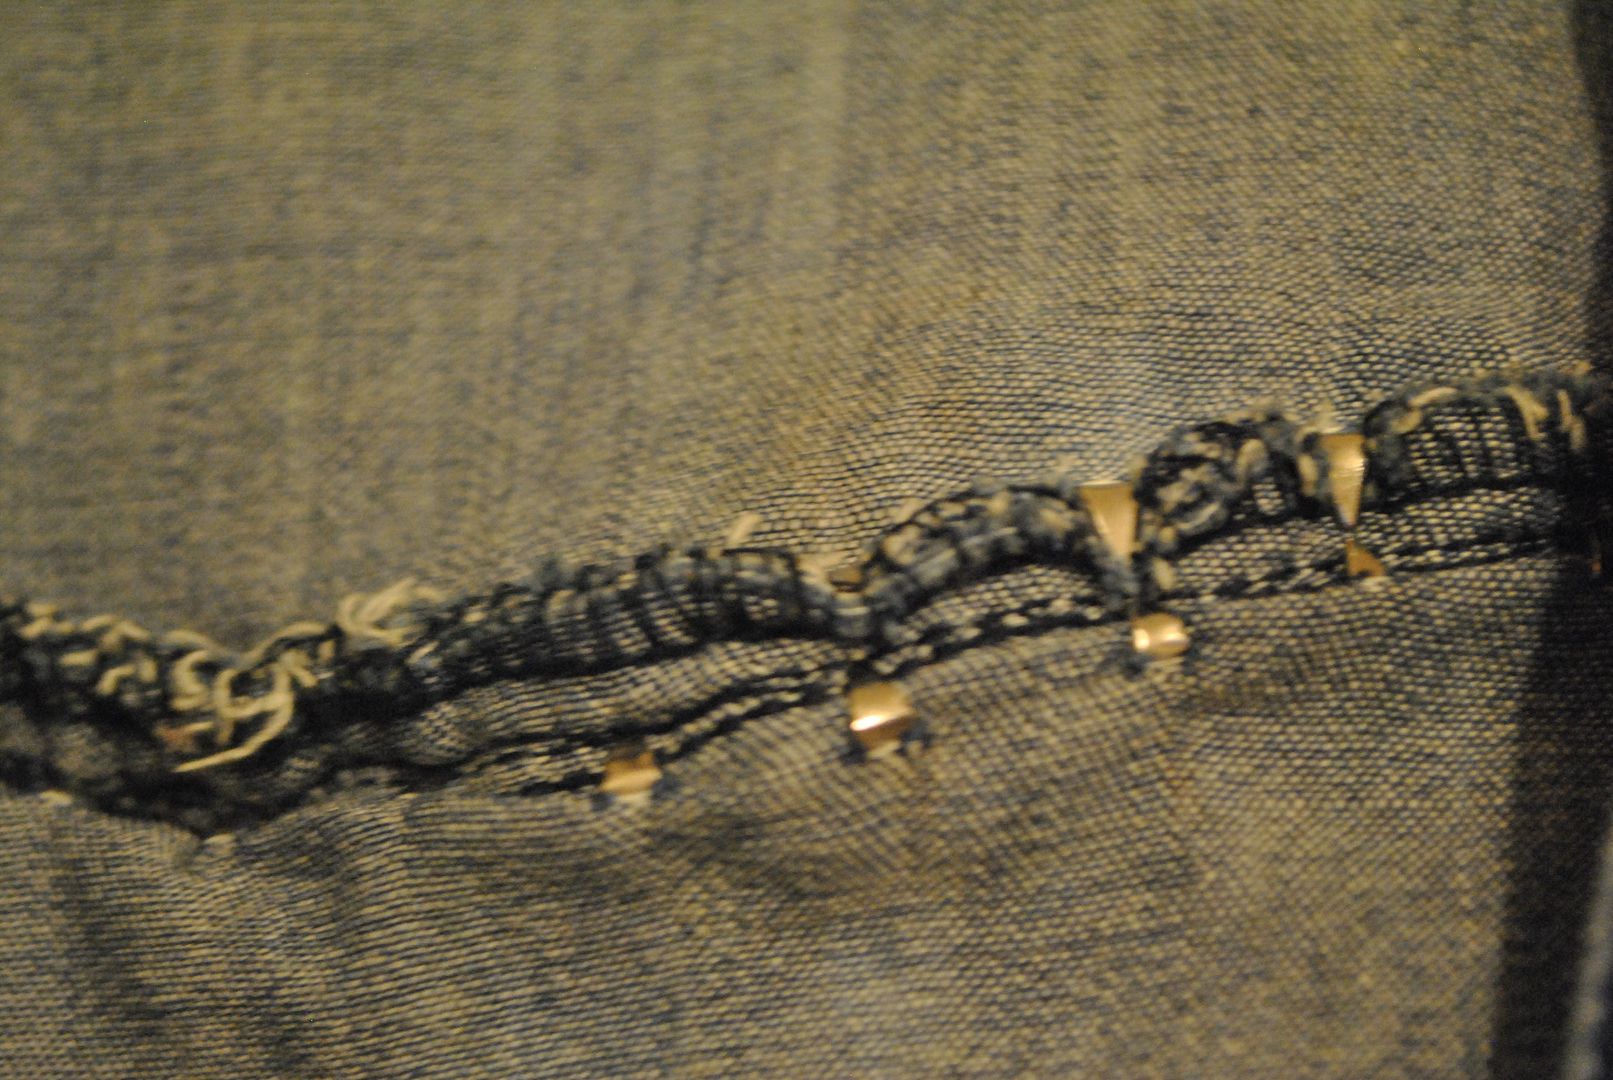
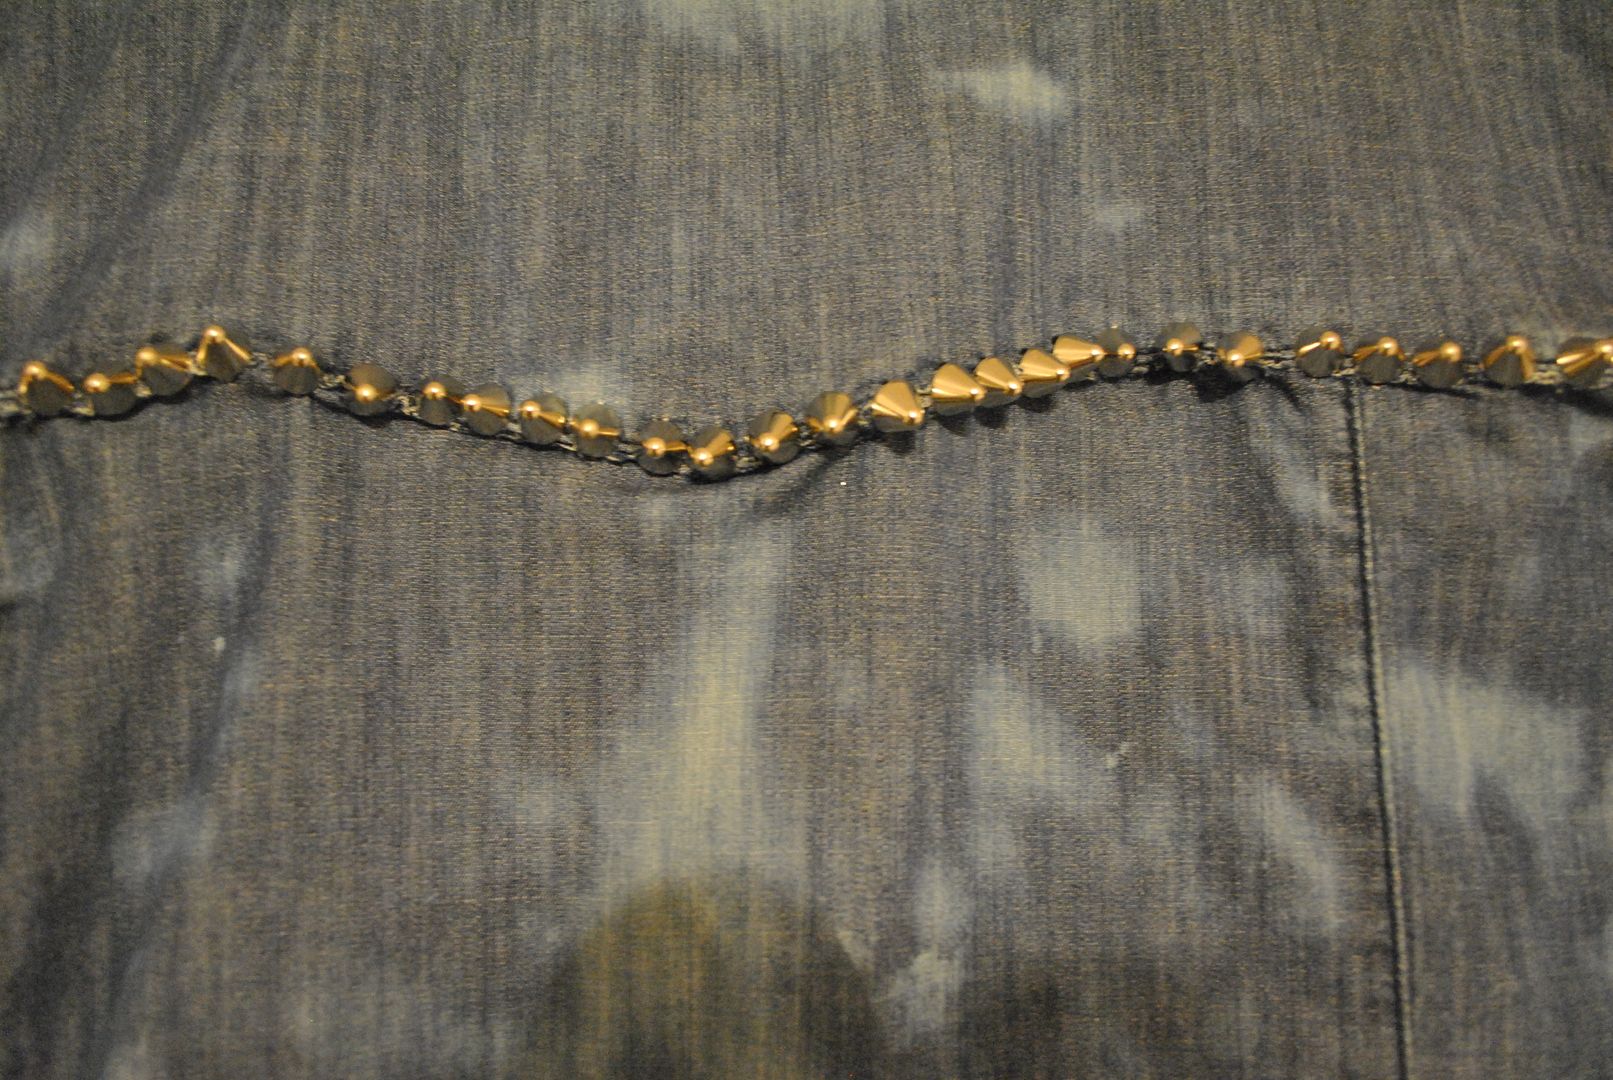
1.) For this project I used the English 77 studs I had around from Studs and Spikes. I pushed a stud through the front of the shirt where the ruffles once were, keeping the back seam in the middle of the prongs (it's hard to push through the seams.)
3.) Repeat along the back.
There it is! Let me know if you try this and I hope to do a outfit with it soon.




No comments:
Post a Comment